
How to Set Up Webhooks
Before you start
Webhooks let EPaySe notify your systems in real time when events happen — a transaction completes, a refund is issued, and so on. You'll need an HTTPS endpoint ready to receive these notifications before you create a webhook.
Creating a webhook
- Go to Settings → Webhooks.
- Click "Create Webhook."
- Enter a name and your endpoint's URL — it must be HTTPS.
- Choose a verification method. HMAC-SHA256 is recommended and marked as the most secure option.
- Select the event types you want to receive, grouped by category (for example, Transaction events like "Transaction Created").
- Save to create the webhook.
Testing a webhook
From an existing webhook's detail page, use the "Test" action to send a sample payload to your endpoint. This is a good way to confirm your endpoint is reachable and handling requests correctly before relying on it.
Managing existing webhooks
From the webhooks list, each webhook shows its status and recent activity. You can:
- Toggle it Enabled or Disabled without deleting it.
- View its event history.
- Edit its URL, name, or subscribed events.
- Delete it entirely.
If a delivery fails, check the endpoint's event history for details before assuming the issue is on EPaySe's side.
Related Articles
How to View Your Customers
How to view and export your customer directory from your EPaySe merchant dashboard.
How to View and Export Transactions
How to search, filter, and export your transaction history from the EPaySe merchant dashboard.
How to Use the Action Required Queue
How to review and act on items in your EPaySe Action Required queue.
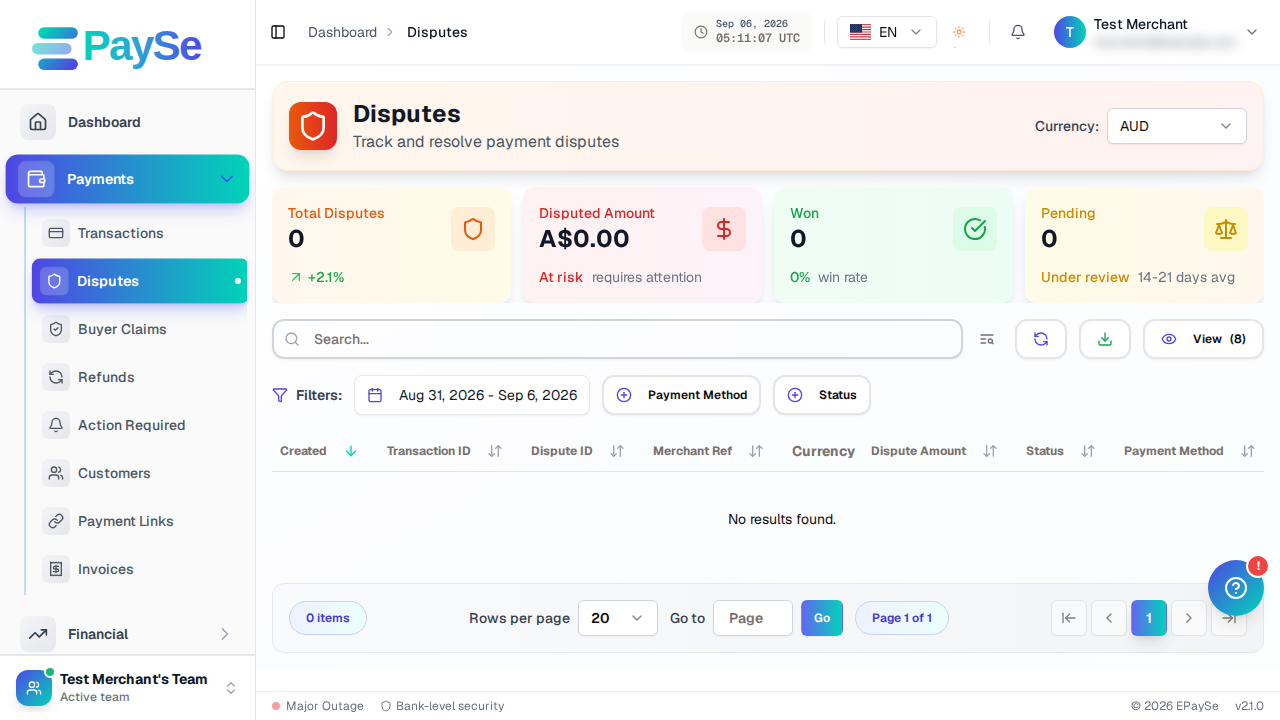
How to Upload Evidence for a Dispute
How to add evidence to an open dispute from your EPaySe merchant dashboard, and what to know about evidence types and the upload deadline.