
How to Manage API Keys
Before you start
API keys let your systems connect to EPaySe programmatically. This guide covers managing keys from your dashboard — for how to use a key to make requests, see the developer documentation.
Creating a new API key
- Go to Settings → API Keys.
- Click "Generate New Key."
- Give it a name and, if you want it to expire automatically, an expiration date.
- Click "Generate Key."
Your new secret key is shown once, on the "API Key Created Successfully!" screen. Copy and store it somewhere safe immediately — you won't be able to see the full key again from this screen. Click "I've Saved My Key" once you've done so.
Viewing an existing key
Open a key from the list to see its details. If you need to see the secret again later, use the "Reveal" action — you'll be asked to re-enter your account password first.
Deactivating or deleting a key
From the key's list entry or detail page, you can deactivate a key to temporarily stop it from working, or delete it permanently. Both actions ask you to confirm before taking effect.
Where to go next
This guide only covers managing keys from your dashboard. For how to authenticate requests with a key, see the developer documentation.
Related Articles
How to View Your Customers
How to view and export your customer directory from your EPaySe merchant dashboard.
How to View and Export Transactions
How to search, filter, and export your transaction history from the EPaySe merchant dashboard.
How to Use the Action Required Queue
How to review and act on items in your EPaySe Action Required queue.
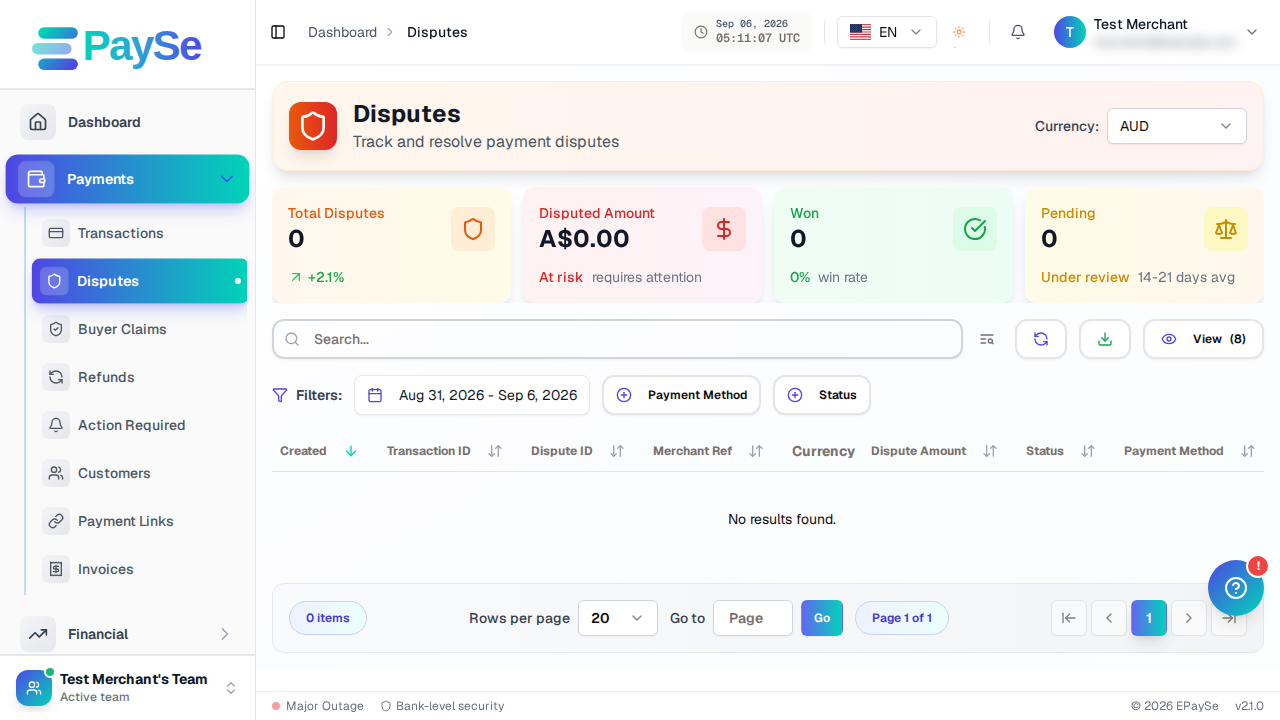
How to Upload Evidence for a Dispute
How to add evidence to an open dispute from your EPaySe merchant dashboard, and what to know about evidence types and the upload deadline.